In order to access DeFi applications and to hold cryptocurrency, you’ll need a wallet. There are a lot of options available, but one of the most popular is the browser-based Ethereum wallet MetaMask, which also allows users to interact with decentralized apps (dapps).
I’ll cover in this article what is Metamask, how to set it up and why is it useful.
What is Metamask?
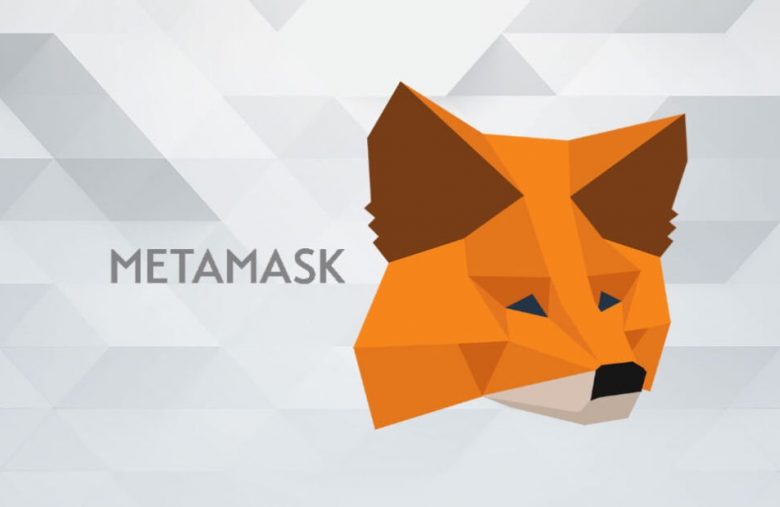
MetaMask is an Ethereum wallet and browser extension that can be used on the Chrome, Brave, Edge and Firefox browsers. It connects these browsers to the Ethereum blockchain, the Web 3.0.
Yes! By using Metamask you will browse the decentralized web.
The decentralized web is characterized by a lack of central points of failure, true ownership of data and decentralized applications (or DApps). Read my article about Decentralized Finance.
MetaMask can serve as a regular crypto wallet, but its real strength is in seamlessly interfacing with smart contracts and decentralized applications. For example you can link your Compound or Aave account directly with MetaMask.
Read about Compound and Aave here if you don’t know what they are.
What can you do with MetaMask?
With Metamask, you can use all of Ethereum’s features including:
- Sending and receiving transactions between standard Ethereum addresses, such as those owned by individuals and merchants.
- Accessing, exploring and/or paying for transactions in DApps such as games, gambling apps, DeFi apps, and decentralized exchanges.
- Storing ETH and custom tokens (i.e., ERC-20 tokens).
- Storing collectibles and non-fungible tokens (NFTs). (I’ll be covering them, don’t worry)
- Connecting to Ledger and Trezor hardware wallets.
Unlocking the decentralized web
With metamask you can have access to the decentralized web, decentralized applications and you can access the DeFi sphere. Read here my article on the most popular Decentralized Finance protocol.
When you want to access a decentralized application in the top right-hand corner, you should see a prompt to Connect to a wallet. You’ll see this in some form on all MetaMask-compatible sites, as it doesn’t automatically connect for security reasons. Click on it, and you’ll be asked to select which wallet you’re using. In case you haven’t been following, that wallet will be MetaMask.
Keep reading, below I wrote a step by step guide on how to set up your Metamask 🙂
When a site first attempts to connect, a MetaMask dialog will appear, asking you to confirm the action. You’ll be able to select an account before verifying what permissions you’re about to grant. In this case, as in many others, the site is requesting information on the wallet address your account controls.
Metamask and Privacy
It’s important to be mindful of what you’re permitting. If a website knows your address, they can see all of the ether and token transactions to and from it. What’s more, they can correlate it with your IP address.
Some prefer to segregate their addresses to prevent any overlap, while others aren’t concerned with these risks (after all, the blockchain is public). The level of privacy you want to achieve ultimately depends on you. As a general rule, don’t grant access to websites you don’t trust.
Is Metamask Safe
Metamask is very user-friendly but it does have a few negatives point worth considering.
- It’s a browser extension. MetaMask itself doesn’t have access to your information but your browser will. In a privacy level, this is not the best solution to set MetaMask as your main wallet. I’ll cover the best wallets in the next articles.
- MetaMask is an online wallet – also called hot wallet. Hot wallets are wallets connected to the Internet which means that they are vulnerable to hacks and attacks. Compared to cold wallet or hardware wallet, which is not vulnerable to online attacks.
- Be careful with Metamask’s malicious copy! Malicious browser extensions have been known to copy MetaMask in order to lure unwary users into phishing attacks. Be careful when downloading MetaMask or any other extension. Check the URL twice to make sure you’re using the authentic one to download the extension
Metamask official website
Now that you know a little bit more about MetaMask, let’s see together how to download and set it up.
How to get started with MetaMask
If you’re a beginner, Metamask is your good to go wallet. The MetaMask wallet is very easy to use compared to the complex interfaces of crypto exchanges. Its design is very basic and it has everything you need to get started. Very friendly for beginners.
If you want to install Metamask and create your first crypto wallet safely, keep reading 🙂
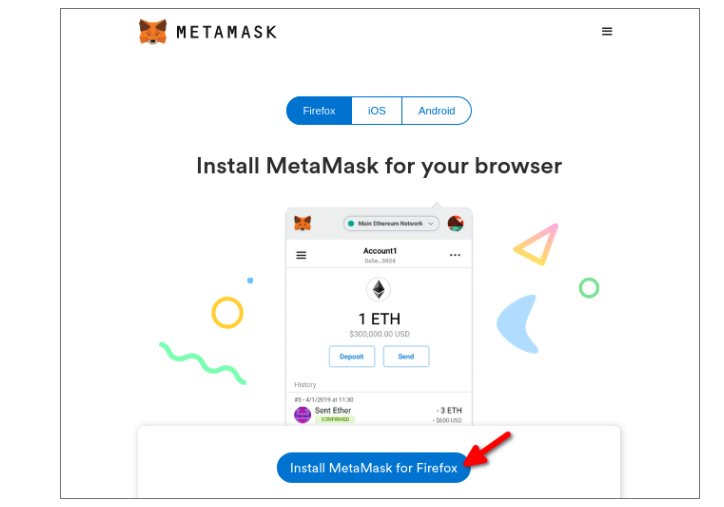
- Install Metamask
To install MetaMask, please do it from the project’s official website or an app store. It is safest to install from the official website because app stores have accidentally hosted fake Metamask apps in the past.
Chrome, Firefox, Brave, and Edge all support Metamask. Opera users can use Metamask through Chrome extensions, though issues have been reported. Apple and Android devices also support the app.
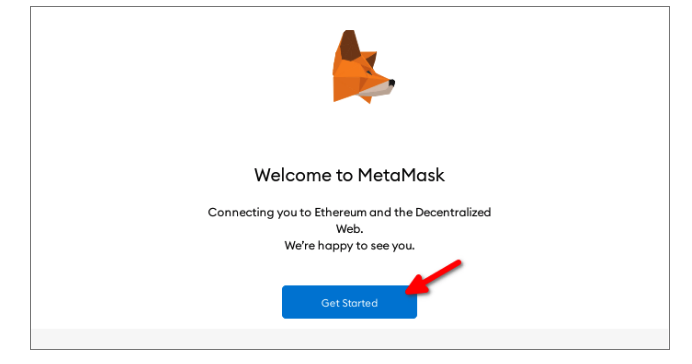
Once you have installed Metamask, click on the Metamask icon in your browser’s toolbar to open the app. Then, click on “Get Started.”
2. Set up a New Wallet
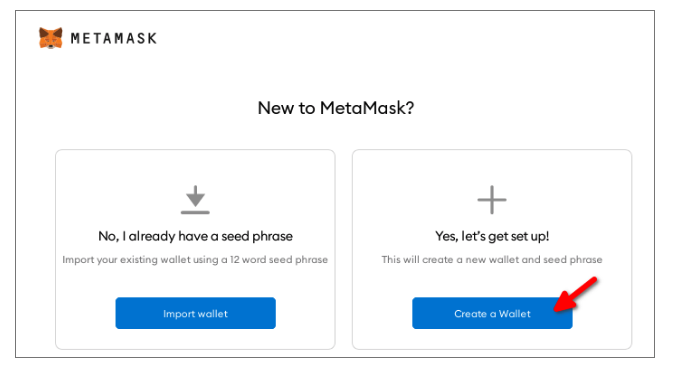
Click on “Create a Wallet” to make a new Ethereum wallet. (Or, if you have created one already, follow these instructions to restore your wallet and access your existing funds.).
After creating your password, you’ll see a grey area in the “Secret Backup Phrase” website:
Click on the grey area to unlock your seed phrase. Be sure to store this seed phrase safely.
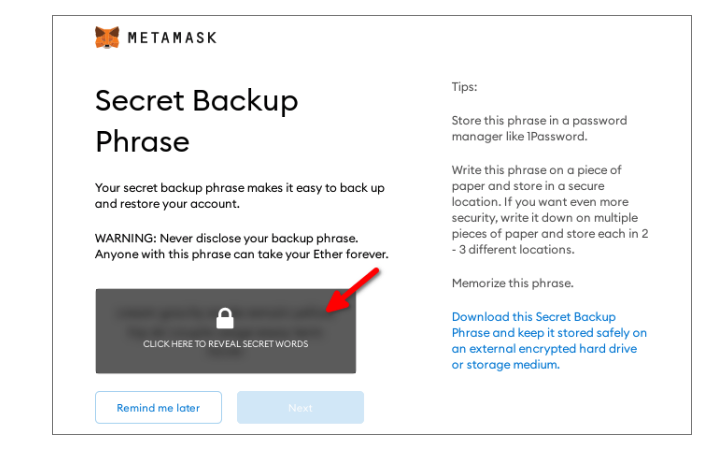
MetaMask is a non-custodial service, meaning that no one else can access your funds – not even the MetaMask developers. Your tokens exist in a sort of encrypted vault within your browser, protected by your password. That means that if your computer is lost, stolen, or destroyed, nobody can help you recover the wallet. Your private keys will be forever lost in the cyberspace.
So, it’s crucial that you write down your backup phrase. This is the only way you can restore your account if something unfortunate happens. I recommend that you write the words down and store them in two or three different locations.
Keep in mind, anyone who knows it will be able to access your Ethereum wallet, and you will not be able to recover your wallet without it.
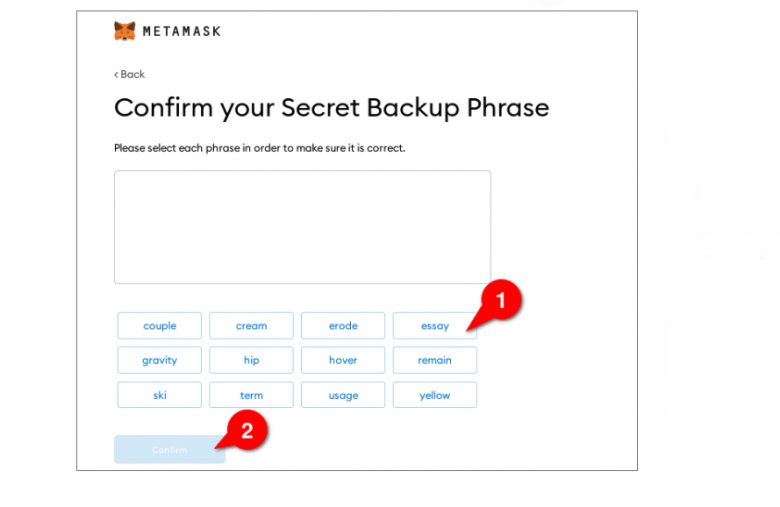
Confirm the phrase, then proceed to the next step. Hit All Done, and you’ll see the wallet interface.
3. Now you’re ready to Buy or Deposit Cryptocurrency
The main screen shows your list of assets (including your balance for each crypto), along with buttons that let you send, receive and swap crypto.
An activity tab shows your recent transactions, while clicking your account at the top will copy your asset to the clipboard.
The 3 dot menu on the top right also shows your wallet address and a QR code, for receiving cryptocurrency. Metamask can also connect with hardware wallets like Trezor or Ledger. (Don’t worry, I’ll be covering it in a next article).
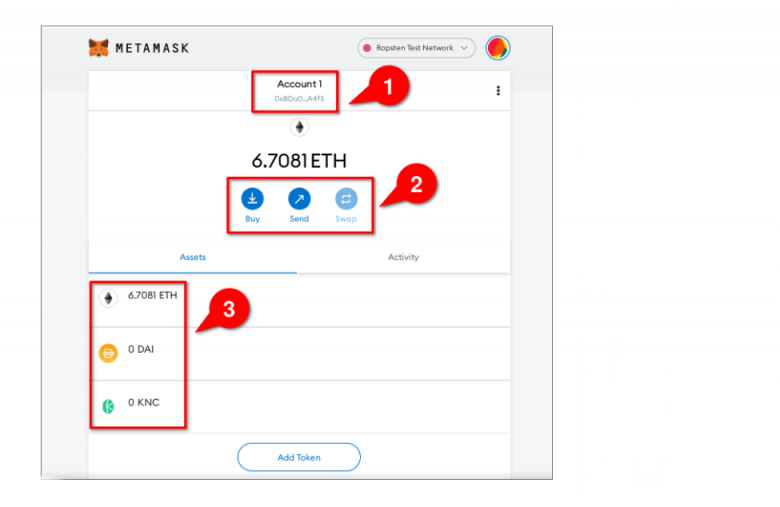
Now you can add funds to your wallet. Click on your wallet address (1) to copy it, then send ETH to that address from an exchange.
Or, if you have not yet purchased ETH, click on “Buy” (2) to buy funds from Metamask’s built-in exchange.
You will see your balance in the lower portion of the wallet (3) once your funds have been deposited. ETH will show up by default. If custom ERC-20 tokens do not show up, click “Add Token” to add those tokens to the list.
It may take several minutes for your ETH to arrive, depending on the amount of traffic that Ethereum is experiencing.
4. Send Cryptocurrency
Once you own cryptocurrency, you can send your funds to other users, merchants, or your own additional ETH wallets. To do so, click on the “Send” button in Metamask’s main panel. Enter the amount of ETH you want to send (1) and the amount of transaction fees you want to pay (2).
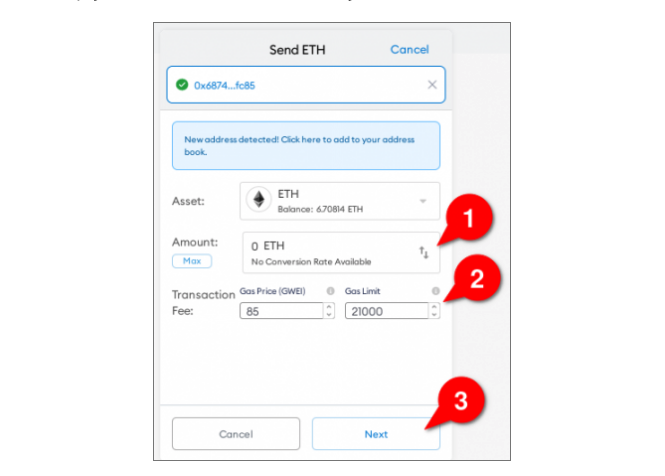
Then, click “Next” (3).
A higher fee will help your transaction get confirmed faster. Metamask automatically sets a fee by default. However, sites like EthGasStation can help you find an ideal fee manually.
Click “Next” (3) to finalize the details of your transaction. Then, click “Confirm.” Once again, it may take some time for your transaction to be confirmed.
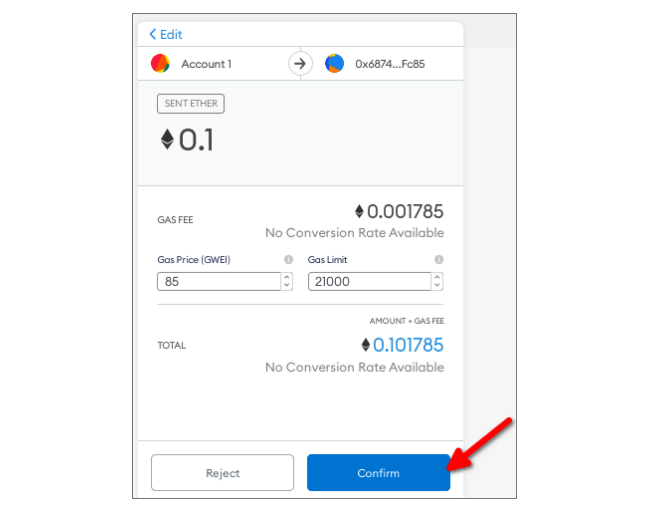
You can check the status of your transaction in Metamask’s “Activity” panel. If your transaction stalls, see this page.
And that’s it guys. Metamask is used to unlock the decentralized web. You can use other wallets as well but Metamask is a good start.
As always feel free to leave a comment down below for any question you have about this article and I’ll be answering! Remember, we are all here to learn and there are no stupid questions
Thank you !